A bandsaw has a wide range of uses. At times the work that it performs may cause it to break down. When being used to do the cutting, a lot of pressure is applied. This may cause the blades to break down or just to snap. It is a common thing that happens.
The band saw blades are quite expensive hence replacing them might not be the best option. This is unless the blades are extensively damaged, which would need a total replacement.
Do not forget that the blades do snap even when new, hence you cannot do the replacement all the time. The best option is to weld. So how do you do it? Follow through the article for more information.
Which are the materials required for the welding to be done?
Since it is a specialized job, you will need to have the following in order to complete the task:
- Welding visor.
- Safety gloves for welding.
- Degreaser
- Tig welder
- Grinder and
- Vise
Armed with the above tools, you are ready for the job.
Steps to follow when welding a bandsaw
Do some inspection
Before welding, confirm the extent of the damage. This is for you to make an informed decision on whether to weld or replace. You need to confirm whether it is strong enough to last for the many other assignments.
Apply the degrease to the blade to clean for better inspection. Set the degrease on both sides of the blade and let it settle for approximately ten minutes before wiping it off.
Rusting too has the capability of making the blade break. Ensure that it is not on the blades by always keeping it clean and lubricated.
Grind all the ends
This is after cleaning the blades. With the help of a small grinder, grind both ends so that they can hold each other tightly. This can be best done by the use of a vise. Take one end of the blade to tighten it to the grinder.
Repeat this process for the second end. This is to ensure that they tightly fit one another when put together. It should be too tight however as it may break down due to its own pressure.
Weld
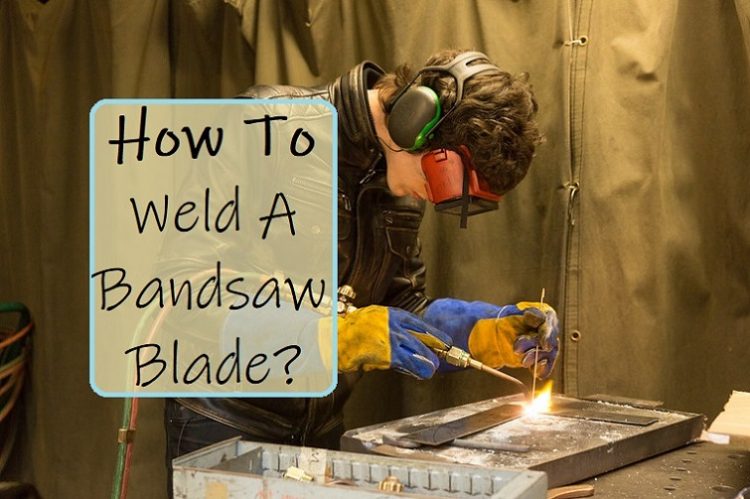
It is now time to weld. Ensure that the blades are touching each other before you start the welding. Eliminate any bend on the blade by ensuring that it is perfectly straight. The tool to use here is the tig welder with the help of the vise.
The vise is meant to ensure that the blade ends touches each other. Tig welder, on the other hand, is meant to weld the blades together. Maintain the tightness of the blade, but do not overtighten. It won’t be so useful if you make it too tight.
Weld both sides, with a little more pressure on the second side to provide reinforcement to the strength of the blades when fully welded.
Smoothen the blades
This is the final process to undertake. You will need to let it cool down first. Using a grinder, grind the blades until they become smooth again. Smoothening the blades will help ensure that it gives you a regular piece of work when you start working with it.
Do not forget to grind both sides of the blade for an even greater experience when using it. Wash it clean in readiness for reattaching into the bandsaw.
Reinstall into the bandsaw
You have now done the welding and the work is done. It is now time to put it back to the bandsaw. Take care so as not to hurt yourself. The blades are quite sharp and dangerous. The process of putting it back to the bandsaw is not complicated but needs some extra caution.
Why do bandsaw break?
It breaks mostly because of the following factors:
- Sharp teeth especially when new cause the blades to snap easily especially when cutting vigorously.
- Growing old/aging.
- When not lubricated often.
- When affected by things such as rust.
Conclusion
Good band saws have a tendency of snapping after quite some time. This phenomenon is caused by the factors listed above. When it breaks, there are two options, to weld or to replace. You will need a replacement when the blade has suffered extensive damages.
If the damages are little, then welding is a good option. The cost of replacement is quite high and may not be viable all the time. Always check the blade before deciding on the course of action to undertake. Follow the above steps all the time when it comes to welding.
